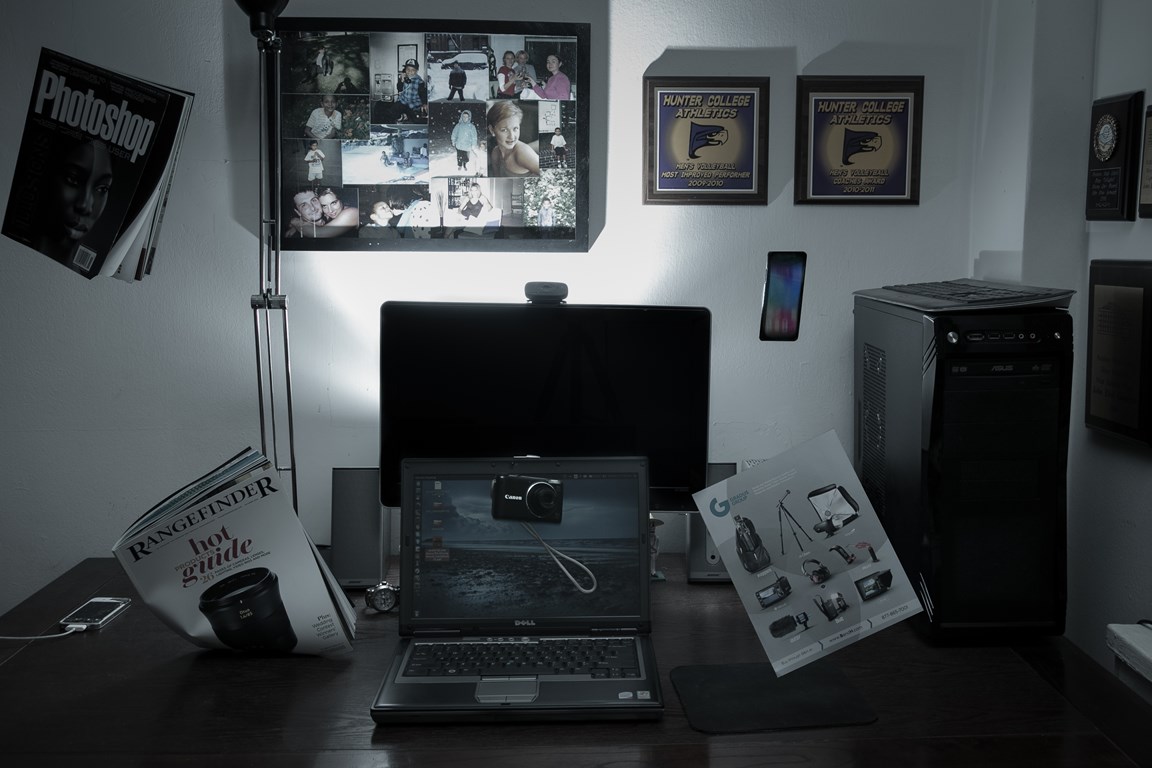
I gave levitation photography a shot once, but this time I decided to do things a little differently. I shot in a more controlled environment and used a lot of post processing to achieve the desired result. I got the idea from the photography magazine floating on the top left of the frame. It gave a step by step breakdown on how to achieve this levitating effect. I didn’t follow it step by step, but used a lot of the ideas that were presented. This also allowed me to give my new tripod a spin.
The procedure:
Whoa that’s pretty awesome John. Does this trick naturally make the light dimmer or is it just the way the room is lit?
Thank you! Well I placed one flash behind the desktop monitor and another one at waist level just bouncing off the ceiling. That is why the wall is illuminated and how the foreground was lit.
Oh so that was done on purpose. Got it